UI篇
尝试编写一个UI
尝试编写一个UI
尝试编写一个UI
- 接下来通过一个实际案例来学习 UI 编写。下面将创建一个替换原版生存模式背包的 UI。
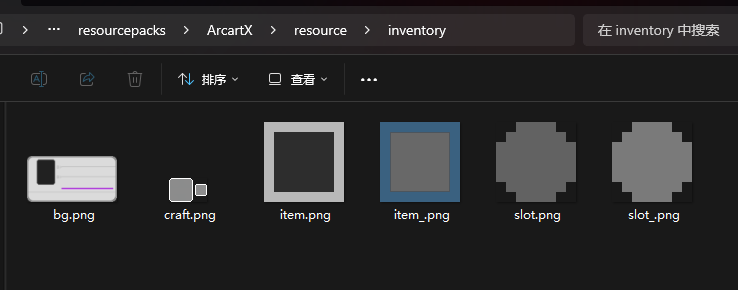
1.资源文件准备
- 首先准备好我们的资源文件
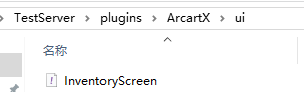
2.创建UI配置文件
- 在服务端创建UI配置文件
3.编写UI配置文件
- 设置UI属性,这里其余属性都用默认值就行了,只需要配置
match,在替换匹配里加一个原版背包界面的ID
- 保存,重载,这个时候重载然后打开背包已经可以发现啥也没有了,因为我们还没有创建控件内容,这个时候打开背包发现是空的说明操作正确
4.编写基础控件
- 然后我们开始创建控件,我们将所有组件放在自适配布局控件下,这样就省的根据窗口大小做适配了
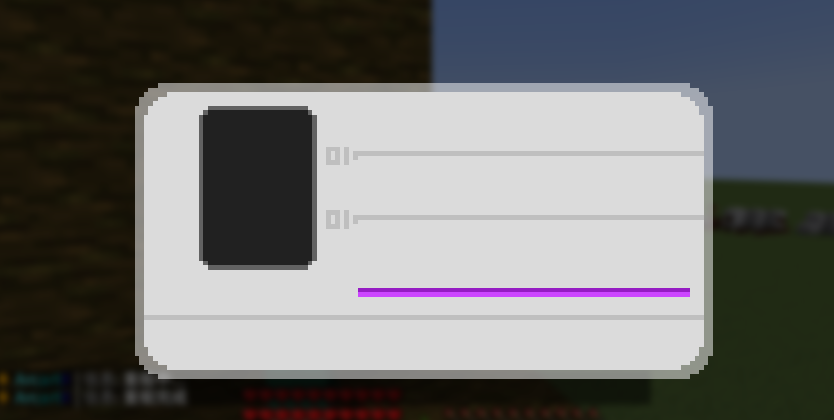
- 继续往下写,我们把背景图控件加上
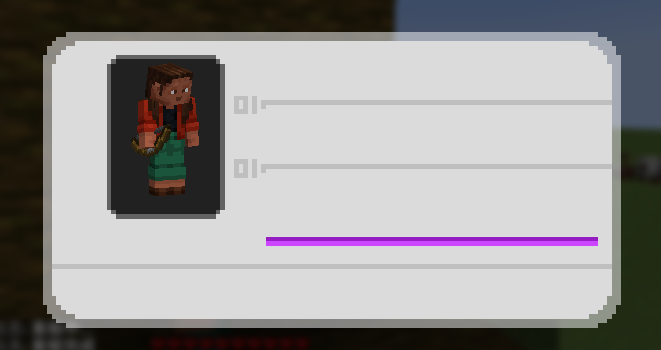
- 然后保存重载,就可以看到背景已经渲染了
- 再然后顺便把实体也塞进去
- 基本可以说是初见端倪,接下来做物品栏位。既然有脚本支持,就不需要手动创建几十个槽位了。
- 这里我们利用网格布局控件来帮助我们排列槽位控件的位置,并且使用语句复制槽位并设置槽位id
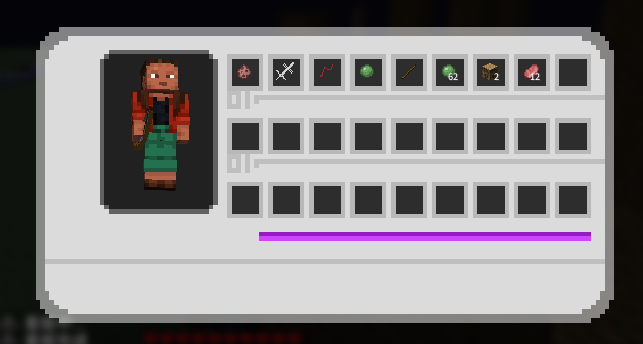
- 基本上可以看到背包的雏形, 下面的快捷栏槽位也是以此类推,不过用的是横向布局控件。
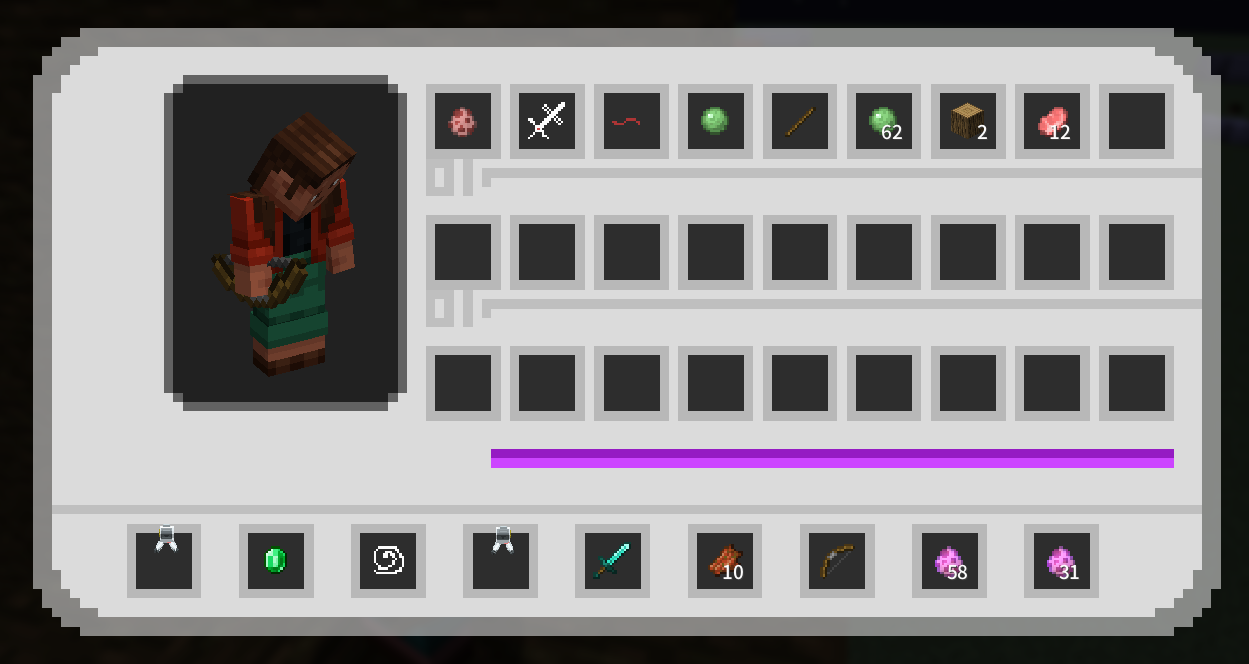
- 如此便是基本完成了一个背包 UI。护甲和副手槽位的写法类似,这里不再重复。
- 来看看完整配置内容
- UI 部分的教程到此结束。虽然涵盖了 11 个章节,但多上手实践并不难。
- 多尝试几次就能熟练掌握。